A Scoring Board is a board made from light weight plastic with a series of numbered and labeled grooves. These grooves are precise measurements that allow you too accurately score and fold card and paper blanks and boxes. These board give you the ability to create different blank folds, such as your basic half fold, concertina fold or gate-fold and boxes Some scoring Boards have the added features such as decorative embossing lines and motifs.
There are scoring boards available to create embossed decorative shapes and motifs only, so no more light box needed and even scoring boards designed to create bespoke envelopes and enveloboxes.
Each board normally come with it's own instructions, but a web search using your favourite search engine will help you find instructions from other crafters using that board. What I have done is taken an A4 sheet of card and ruler on each of mine and drawn the score lines. I plan to adapted a few of the projects I already have to be used on the ScorPal boards as these are simple and easy and you do not even need the board, just a good ruler will do the trick.
I will be posting these tutorials on my blog shortly and will also add links to where you can purchase the most popular scoreboards should you wish to invest in a specific one.
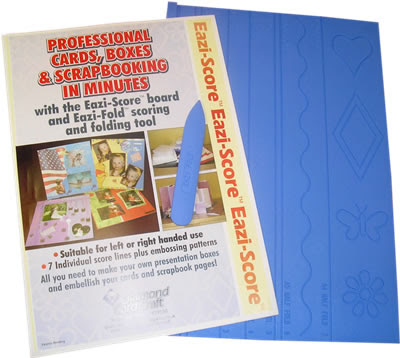
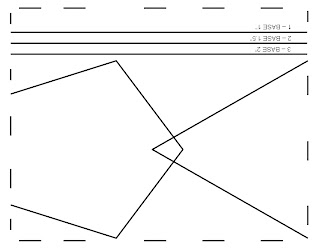
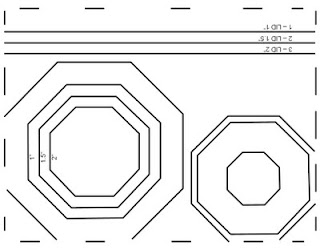
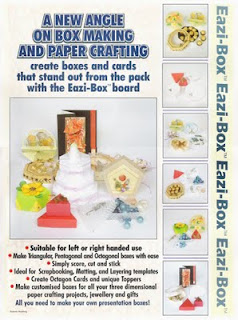
Eazi-Score
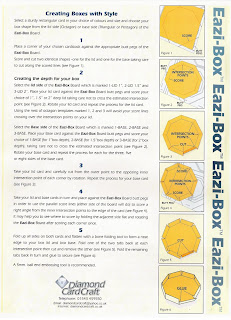
Line 1 Box Line 1 in the diagram below
Line 2 Box Line 2 in the diagram below
Line 3 A5 Gate Fold Line 3 in the diagram below
Line 4 A4 Gate Fold Line 4 in the diagram below
Line 5 DL Line 5 in the diagram below
Line 6 A5 Half Fold Line 6 in the diagram below
Line 7 A4 Half Fold Line 8 in the diagram below
M & F Board
Line 1 Box Line 2 in the diagram below
Line 2 A5 Gate Fold Line 3 in the diagram below
Line 3 A4 Gate Fold Line 4 in the diagram below
Line 4 Z-Zag Leaflet A4 Line 5 in the diagram below
Line 5 A5 Half Fold Line 6 in the diagram below
Line 6 A4 Half Fold Line 8 in the diagram below

Crafters Companion Top Score Multi board and Ultimate Pro
Line 1 Box Line 1 in the diagram below
Line 2 A5 Gate Fold Line 3 in the diagram below
Line 3 A4 Gate Fold Line 4 in the diagram below
Line 4 Tri Fold A4 Line 5 in the diagram below
Line 5 A5 Half Fold Line 6 in the diagram below
Line 6 5” Square Line 7 in the diagram below
Line 7 A4 Half Fold Line 8 in the diagram below


Line 1 Box
Line 2 Box
Line 3 A5 Gate Fold / Concertina A5
Line 4 A4 Gate Fold / Concertina A4
Line 5 DL / Leaflet Zig Zag / Tri-Fold A4
Line 6 A5 Half Fold
Line 7 5” Square
Line 8 A4 Half Fold
Hints & tips
- For best results use an embossing tool for scoring and the edge of a bone folder to flatten folds – this will avoid “crushing” folds.
- Don’t be heavy handed when scoring, particularly on light weight paper, to avoid damaging the surface of the paper.
- For precision scoring make sure the piece of paper you start with is the correct size and always make sure the paper/card is pushed firmly against the butt board.
- When embossing decorative motifs make sure the paper/card is placed face down so that when you turn it over the embossed image is on the front.
- If the embossing tool is difficult to score along the card scribble wax over the paper/card or rub the embossing tool against the side of your nose – this picks up a little oil and helps the too glide more smoothly!
- Buying cardstock and scoring yourself to make card blanks can often be cheaper and gives you the versatility of making card blanks from any card stock you have.
- To achieve edge to edge folds – keep the cardstock pushed against the butt bar, fold the cardstock inwards to meet the butt bar and crease using a bone folder.

