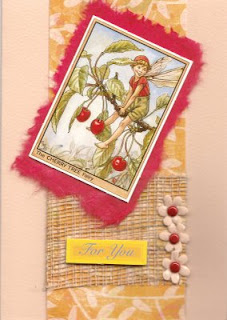
Wednesday, 25 November 2009
Advise on choosing colours
Here is a nice site that gives you a lot of useful info on colour and the effects it has on our day-to-day lives.
Other Useful links:
Colour Wheels
List of Crayola colours
Prismacolor Tutorial
Other Coloure Pencil Tutorials
Monday, 2 November 2009
Goodies for sell
Saturday, 31 October 2009
Quilling Tutorials
Quilling or paper filigree is the art of rolling thin strips of paper into different shapes and using the shapes to form designs. Quilling has been around since the Renaissance age, but I was only recently introduced to it. This is just the basics and more info will be added later with links to site with free patterns and galleries.
Tools
The tools needed for this craft are very basic. Paper strips, something to wind the strips around and glue are basically all you need to get started. Paper comes in many different weights. You select the weight according to what you want your finished design to look like. The strips of paper are usually cut anywhere from 1/8" to 1" wide with 1/8" being the standard. In the examples I used ordinary construction paper cut into 1/8" strips. I used a toothpick to wind the coils, but some prefer needles, pins, hat pins or some specially designed tools for quilling. Ordinary clear-drying white glue is good for most projects. If you are using a paper that has been sprayed with metallic paint, a heavier clear-drying glue may be used.
Other tools that may be helpful
Scissors for cutting the strips of paper, although you can purchase pre-cut strips of paper for quilling in some craft stores.
A small plastic cap or plastic bottle to hold a few drops of glue so the rest of the bottle won't dry out.
A ruler is used to achieve uniformity in the size of the pieces.
You can use a piece of corrugated cardboard covered with waxed paper as a work board. A pattern can be slipped between the cardboard and the wax paper and if glue gets onto the wax paper it can easily be peeled off. Another alternative is styrofoam covered with plastic wrap.
Tweezers and a muffin tin are good to have handy for organizing by different size or shape and the tweezers will help you pick up or place the smaller pieces into position.
A damp sponge or washcloth is helpful to keep your fingers free of glue and to moisten the strip when you start a coil.
Basic Shapes Feelers Peacock Eye Contoured Peg Peg oll a strip of paper tightly and glue the end while the coil is still tight. Pegs can be used in the design or glued to the underside of another shape to raise it creating dimension. Quotes Open Heart Rectangle Triangle Closed Heart Have a look at Monica's blog for more in depth tutorials, video's and great ideas.
"V" Shape
Fold the strip in half and roll the ends on the outside of the paper, away from the inner crease.
Roll only a small part of the paper strip, leaving the rest of the strip straight. Feelers can be made with the strip folded in half as in this example, or just with one coil from an unfolded strip.
This can be made from either a loose or tight coil. After the coil is made pinch one side. A petal can be formed by bending the tip of the peacock eye slightly to one side.
After rolling a tight coil, push the peg up from underneath the center to contour it's shape. Used to add dimension to a design.
Fold the strip in half, roll the ends in the same direction. One coil will be rolled toward the center crease, the other away from it.
Fold the strip of paper in half and roll the ends toward the center of the crease.
Tendril (Note this got smashed in the scanner it should be open and springy looking)
Roll in a spiral shape around the toothpick as tight as desired, also known as a spiral, rope or twist.
"S" Shape
Roll from both ends of the paper but on opposite sides of the strip.
Diamond
Made from either a loose or tight coil. After the coil is made pinch two opposite sides. Also called a marquis or an eye-shaped coil.
Leaf Shape
If you bend one or more ends of the diamond, you form a leaf shape.
Oval
Squeeze a loose coil into an oval shape, but try not to point the ends.
Square
Roll a loose coil and form a diamond. Pinch the smooth sides into points forming a square.
Squeeze first into an oval then pinch the corners to form a rectangle.
Star of Leaf Shape
Form a diamond first. Grasping the ends push in toward the center forming two newer points with a curve between them.
Pinch a loose coil into a 3-sided shape. Usually this looks better if you keep the center a round as possible.
Pinch a triangle, then push in one side to form an indent.
Half Moon
Pinch a loose coil on two sides while placing your finger in the middle of one side, this will cause an indentation on that side.
Tulip
Pinch a loose coil on two sides while pushing in toward the center at one side.
I have tried so many different techniques over the years and always give each one a fair change. I love the finished effect but find quilling something a bit to fiddley when you have a 5 year old running around. I do use it from time to time for specific projects and when I do I will post Photo's. Hope this helps you and maybe introduce you to another fun and easy way to create lovely layouts for both your cards and scrapbook pages.
Friday, 25 September 2009
Techniques and tutorials to look forward to
Stamping
Decoupage
Die Cutting
Embossing
Iris Folding
Quiling
Spirelli
Tea Bag Folding
Paper Pricking
Lace
Peel Offs
Scrapbooking
Using Sketches for both Card Making and Scrapbooking.
Making the most of your craft CD's
Choosing Adhesives
To cover all your crafting needs, you will need, one adhesive from each of the groups below
Dry adhesives
This group of adhesives are a craft box must have as they are quick and easy to use, nonmessy and in most, cases, give an instant bond like :
Double-sided tape
tape on a roll that is sticky on both sides. Available in different widths. Great for sticking card and paper, quickly and easy to use
Glue dispensers
glue on a roll inside plastic casing with a rolling dispenser at one end. The snail or mouse shaped dispenser is simply glided along paper/card and the glue is laid onto the paper/card. Good alternative to double-sided tape. Available in permanent and repositionable format
Dots of glue
sticky circles, in various sizes on a carrier sheet or roll. Invaluable for sticking embellishments
Dimensional adhesives
Used to provide height and depth to papercraft projects. Perhaps most commonly associated with 3D decoupage but often used to raise just one element off a card for instant dimension.
3D foam pads
small foam pads, in various, depths and sizes, sticky on the top and bottom. Provide an instant bond
Silicone glue
glue in a tube that is squeezed out and applied to the back of work before applying to project. Silicone glue requires drying time but this can be advantages in decoupage as it provides time to move and shape layers.
Wet glue
Most of us will be familiar with PVA and “white glue” as it is often used in schools! This type of glue requires drying time and gives a strong bond.
PVA
available in tubes, often with a fine tip nozzle for precision application. PVA has a multitude of uses including as a varnish when watered down. Water based and dries clear
Glue stick
traditional glue, often used by children. Available in a solid, stick format that you twist up to use. This type of glue is, generally not as strong as liquid glue; suitable for card and paper
Glue pen
wet glue in a pen format, allowing precise application. Generally glue is blue, so that you can see where applying it and dries clear. Stick items when glue is wet and blue for an instant bond or when glue is tacky and clear for repositionable use. Great for sticking small embellishments such as flat backed gems.
Things to consider
Check adhesives used for scrapbooking are acid free. Always read instructions and follow safety Do you want an instant bond or time to reposition work?
Working with children? Make sure the adhesive is suitable – non toxic, washable etc
Take time to consider what you a re doing and which type of adhesive is most suitable
for the project.
Hints & tips
• Always replace lids to stop glue drying out, blocking nozzles and accidental spills
• For precision application of wet glue use a cocktail stick to apply to project
• Use PVA sparingly on paper/card as it will wrinkle paper/card as it dries
• Consider the decorative potential of adhesives – glitter sprinkled over double-sided tape or dots of glue, for example!
• Ask other crafters and demonstrators which adhesive they use if you are still not sure
Craft Glossary
Craft Glossary
Acid-free
card, paper and other products that do not contain acid (or have a low ph value) This is important in scrapbooking as acid degrades pictures over time see "lingin-free”
Aperture
a window cut into the front of a card blank. Apertures are available in
many different shapes. Cards can be bought with pre-cut apertures or you can cut
your own
Brads
recognised as the humble paper fastener! Brads have a small head and two metal pins that are pushed through paper/card. The pins are opened to hold in place. Brads are available in a huge array of sizes, colours and shapes.
Card blank
Pre-folded card in, generally in standard sizes, ready to decorate and embellish
Cardstock
essential basic card used to make card blanks, matting and layering, die-cutting etc
Crop
group of scrapbookers working on layouts together and sharing ideas
Cropping
trimming a photograph to size or to focus on a particular area
Deckle edge
an irregular, patterned shape. Popular edging for card blanks. Decorative edged scissors – scissors that cut creating a shaped edge, perhaps,most commonly known is deckle edge but many patterns are now available see “deckle edge”
Decoupage (also 3D decoupage)
traditionally the art of layering images and heavily varnishing. Today, better known as 3D decoupage were different aspects of repeat images are cut out and layered on top of each other using dimensional adhesive
De-bossed
the opposite of “embossed”. When an image is indented rather than raised see mbossed”
Die-cuts
pre-cut decorative shapes cut out using a machine. Die-cutting machines and dies are available to buy to die-cut shapes yourself or packs of die-cut shapes can be bought. See “die cutting”
Die-cutting
using a machine to cut shapes. A metal die is run through a machine with the medium to be cut and creates a shape. see “die-cuts”
Dimensional glaze/adhesive
clear varnish which can also be used stick and glaze items. Dries to a high gloss, hard finish
Dry embossing
creating a raised image on paper or card using a stencil and embossing tool. Pressure is applied to the paper or card, through the stencil using an embossing tool creating a raised image on the reverse side of the paper or card see “embossing”
Embellishments
anything that is used to decorate a card! The term covers a wide range of items, usually non-paper, from brads to charms, eyelets to beads. Embellishments can be bought, handmade or found items, never ending really!
Embossing
creating a raised image on paper or card see “dry embossing” and “heat embossing”
Embossing tool
a tool that looks like a pen with metal balls at either end. Used for dry embossing and creasing of paper and card see “embossing” and “dry embossing”.
Heat embossing
creating a raised image on paper or card using a rubber stamp,embossing ink, embossing powder and a heat gun. An image is stamped, sprinkled with powder and heated with a heat gun until the powder melts creating a raised,shiny outline see “embossing”
Heat gun (or heat tool)
a specialist tool that safely delivers very hot air but with very little blow so that embossing powder can be melted and not blown away see “heat embossing”
Lace
from the French word meaning “linked together”. Card is cut using a template and folded to create interlaced design
Layering
sticking one piece of card on to another, leaving a narrow border all around to frame the top layer. More than one layer is often used and called matting and layering see “matting”
Lignin-free
card, paper and related products that do not contain lignin. Lignin is found in trees and therefore only associated with paper products. This is important in scrapbooking as products that contain lignin age over time see “acid free”
Matting
sticking one piece of card on to another, leaving a narrow border all around to frame the top layer. More than one layer is often used and called matting and layering see “layering”
Peel-off
a type of sticker, commonly an outline image that you simply “peel off” a backing paper and stick. Adds instant “embossed” effects to projects see “embossing”
Quilling
the rolling, pinching, gluing and shaping of narrow lengths of paper to create decorative shapes. These shapes are then grouped together to create motifs
Rub-ons – or rub downs!
Quick and easy to use images that come on a carrier sheet. Place transfer motif onto surface and rub over top with the supplied stick to transfer image to chosen surface
Spirelli
the technique of winding thread around a notched shape to create a pattern
Stamps
images formed in rubber or clear polymer that are inked and pressed onto card or paper to create instant images, that can them be coloured
Template
pre-prepared cut out shape that you use to trace or cut identical shapes from. Usually made from heavy duty material so that template can be used over and over again
Vellum
a beautiful, translucent type of paper. Available in many colours, plain or printed
Saturday, 19 September 2009
Fiskars Butterfly Template 2
Friday, 18 September 2009
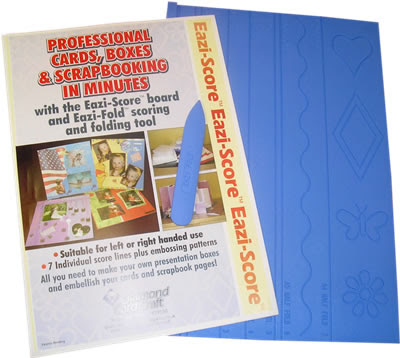
Using Scoring boards
A Scoring Board is a board made from light weight plastic with a series of numbered and labeled grooves. These grooves are precise measurements that allow you too accurately score and fold card and paper blanks and boxes. These board give you the ability to create different blank folds, such as your basic half fold, concertina fold or gate-fold and boxes Some scoring Boards have the added features such as decorative embossing lines and motifs.
There are scoring boards available to create embossed decorative shapes and motifs only, so no more light box needed and even scoring boards designed to create bespoke envelopes and enveloboxes.
Each board normally come with it's own instructions, but a web search using your favourite search engine will help you find instructions from other crafters using that board. What I have done is taken an A4 sheet of card and ruler on each of mine and drawn the score lines. I plan to adapted a few of the projects I already have to be used on the ScorPal boards as these are simple and easy and you do not even need the board, just a good ruler will do the trick.
I will be posting these tutorials on my blog shortly and will also add links to where you can purchase the most popular scoreboards should you wish to invest in a specific one.
Eazi-Score
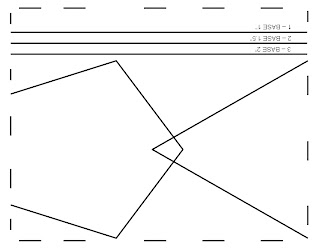
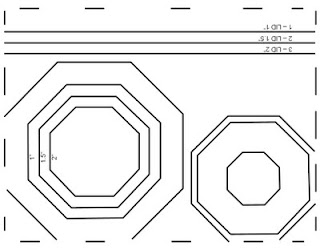
Line 1 Box Line 1 in the diagram below
Line 2 Box Line 2 in the diagram below
Line 3 A5 Gate Fold Line 3 in the diagram below
Line 4 A4 Gate Fold Line 4 in the diagram below
Line 5 DL Line 5 in the diagram below
Line 6 A5 Half Fold Line 6 in the diagram below
Line 7 A4 Half Fold Line 8 in the diagram below
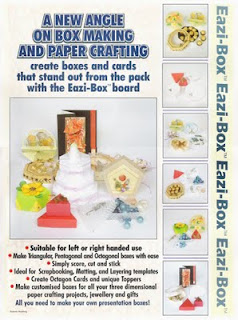
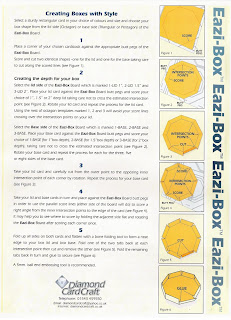
M & F Board
Line 1 Box Line 2 in the diagram below
Line 2 A5 Gate Fold Line 3 in the diagram below
Line 3 A4 Gate Fold Line 4 in the diagram below
Line 4 Z-Zag Leaflet A4 Line 5 in the diagram below
Line 5 A5 Half Fold Line 6 in the diagram below
Line 6 A4 Half Fold Line 8 in the diagram below

Crafters Companion Top Score Multi board and Ultimate Pro
Line 1 Box Line 1 in the diagram below
Line 2 A5 Gate Fold Line 3 in the diagram below
Line 3 A4 Gate Fold Line 4 in the diagram below
Line 4 Tri Fold A4 Line 5 in the diagram below
Line 5 A5 Half Fold Line 6 in the diagram below
Line 6 5” Square Line 7 in the diagram below
Line 7 A4 Half Fold Line 8 in the diagram below


Line 1 Box
Line 2 Box
Line 3 A5 Gate Fold / Concertina A5
Line 4 A4 Gate Fold / Concertina A4
Line 5 DL / Leaflet Zig Zag / Tri-Fold A4
Line 6 A5 Half Fold
Line 7 5” Square
Line 8 A4 Half Fold
Hints & tips
- For best results use an embossing tool for scoring and the edge of a bone folder to flatten folds – this will avoid “crushing” folds.
- Don’t be heavy handed when scoring, particularly on light weight paper, to avoid damaging the surface of the paper.
- For precision scoring make sure the piece of paper you start with is the correct size and always make sure the paper/card is pushed firmly against the butt board.
- When embossing decorative motifs make sure the paper/card is placed face down so that when you turn it over the embossed image is on the front.
- If the embossing tool is difficult to score along the card scribble wax over the paper/card or rub the embossing tool against the side of your nose – this picks up a little oil and helps the too glide more smoothly!
- Buying cardstock and scoring yourself to make card blanks can often be cheaper and gives you the versatility of making card blanks from any card stock you have.
- To achieve edge to edge folds – keep the cardstock pushed against the butt bar, fold the cardstock inwards to meet the butt bar and crease using a bone folder.
Thursday, 10 September 2009
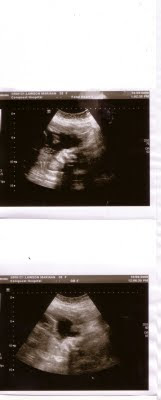
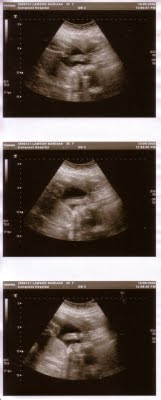
Bianca
At the moment my Maternity leave will start on the 23rd of October 2009 and that will be the time to start watching my blog again as i will be uploading all the cards, albums and projects I have done in the last few months. And even better this time I will actually have instruction and pictures on how I have achieved some of the more difficult ones.
I am really exited and Daddy is so happy that it is going to be a little girl.
Sunday, 30 August 2009
Mother in Laws birthday card
Friday, 31 July 2009
The reason for my Absense

I am 17 weeks Pregnant and have not been crafting as often as we are redecorating and getting things ready for Bianca or Ben. We have also only just recovered from the horrid "swineflu" virus, luckily without any lasting effects. I will start working on my new baby scrapbook soon so be sure to check back for updates on that.
Friday, 8 May 2009
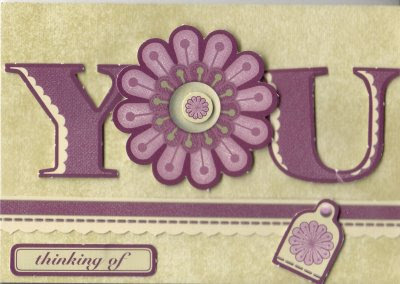
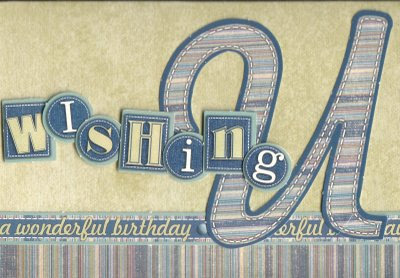
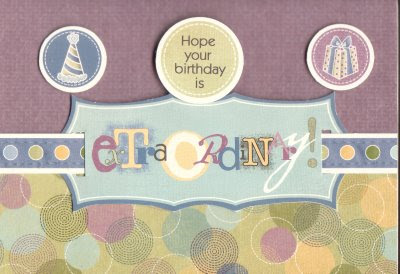
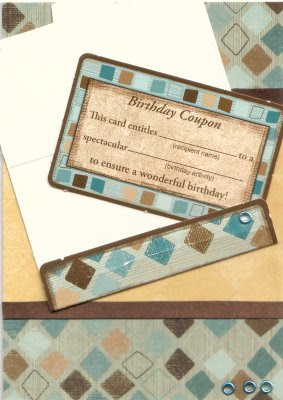
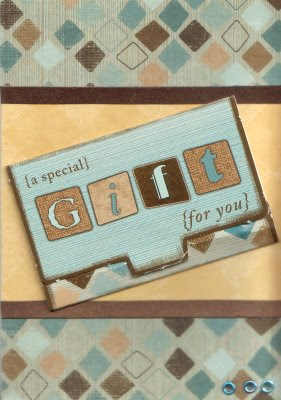
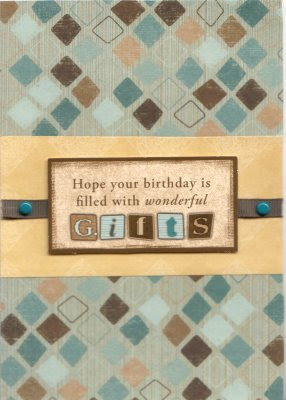
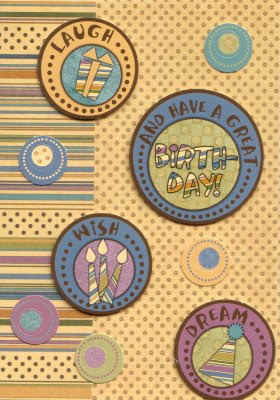
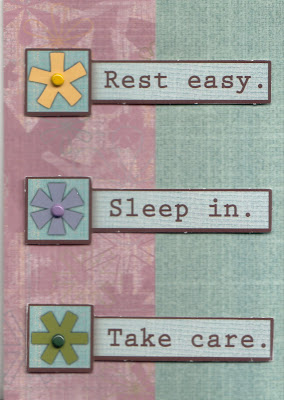
Hot off the Press Instant Card Art and Creative Kits
I used the Earth's Palette for these and simply made the cards as suggested in the Instant Card Art as my creativity is at a all time low.
Blog Candy

Donna is nearing 10,000 hits and are celebrating the launch of her two new CD's Designer Extreme Vol. II and Designer Inserts Extreme, on May 4th, so she has a giveaway. This blog candy will run till May 15th and the winner will be picked on May 16th at 7pm (England time) This blog candy is open to everyone worldwide, I'm happy to post anywhere, so please spread the word.
Tuesday, 28 April 2009
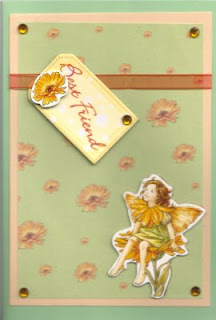
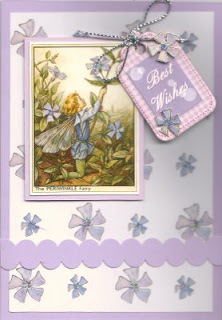
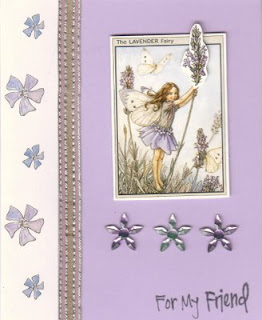
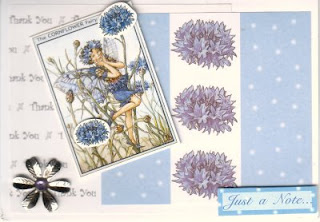
Flower Fairies Cards
Also check out the original Flower Fairies site. Again there is a lot of free downloads and games to have a look at.
