Here is a Little Anniversary Album I made for my Husband.
Page one is a photo of me on our Weddingday on the beach
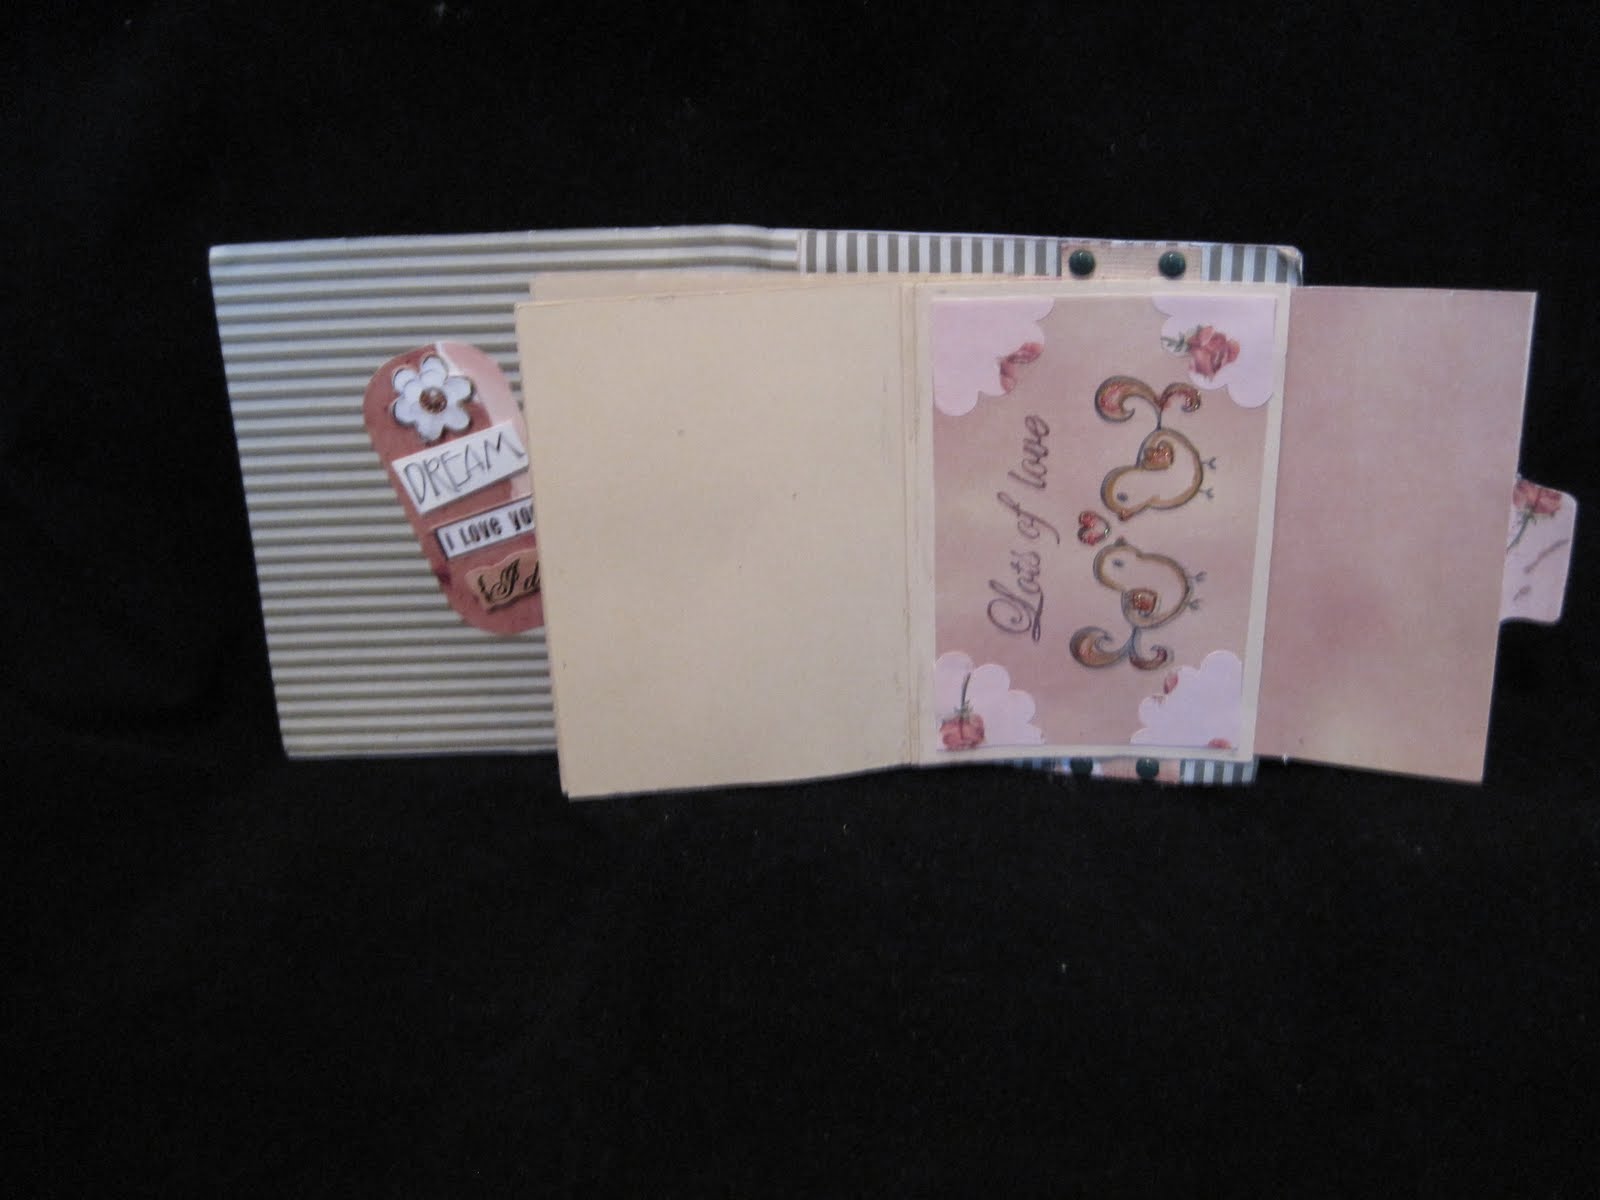
Page two is "The Kiss"
Page three is a family photo taken during our holiday on South Africa when my son, David, was 9 months old.
Page four and five does not yet have photo's as Bianca was not yet born when I made it.
I am in the Process of making another and will take photo's as I go for the Tutorial I will add later.
Materials:
1 piece of 12" x 6" firm cardstock - for the cover (Purple)
1 piece of 12 x 12" firm cardstock - for the 5 pages
cut 5 pages from this sheet with the following dimensions. (Red)
5½" x 5¼
5" x 5¼
4½" x 5¼
4" x 5¼
3½" x 5¼
1 Strip of 11" x 5¼ firm thick cardstock - for the waterfall slider
1 Strip of 1½" x 6" firm cardstock
1 pull tab: 2"x2" piece of cardstock folded in half
Adhesives - wet glue and double sided tape
Paper trimmer
Paper scoring tool
Pencil
Step 1 - The cover
Take piece of 12"x6" and fold it at 5 7/8" and 6 1/8".
Take the 1½" x 6" strip, apply tape to the ends and stick it to the right inner cover 1" in from the rhs. Set the cover aside for now.
Step 2 - Pages
Cut the pages and set these pages aside.
5½" x 5¼
5" x 5¼
4½" x 5¼
4" x 5¼
3½" x 5¼
Step 3.
Take the 11" x 5¼ Strip and score a fold at 3", 3½", 4", 4½", 5, 5½".
Step 4
Stick the tab onto the right hand side
Step 5.
Fold at the first score line, use a bone knife or your thumbnail to create a nice crisp fold. Open the sheet and fold at the 2nd score line, create a crisp fold and apply glue to this section. Take the shortest of our 5 pages (the 3½" x 5¼) and stick it to the fold.
Step 6.
Open the sheet again and fold at the 3rd score line, create a crisp fold and apply glue to this section. Take the 4" x 5¼ page and stick it to the fold.
Repeat Step 6. for the remaining 3 pages.
Step 7
Open up the page slider (the pages should be underneath) Slip the slider under the strip and center the page lot onto the back cover. Take some double sided tape and stick it on to the strip.
Step 8
When the slider and pages are centered then close the album sticking the slider to the top of the strip and stick it down good.
Test your album opens ok by pulling on the pull out tab and decorate.